If you have ever had to change the Business Unit of a User then you will know that the change causes their security roles to be dropped, so you need to ensure the security roles are reassigned. This is mildly frustrating when you have one or two Users to update, but what happens when you have to update all Users in your organisation?
I recently encountered a scenario where the organisation needed to completely remodel their Business Unit structure and move the Users to the new Business Units; the prospect of doing this manually filled me with dread.
I’ve done a bit of research and seen methods that others have used (see CRM Tip of the Day 1134 for a good example), but I’m a massive North52 nerd so I felt sure there would be a way I could achieve this dynamically using this tool.
The Scenario
In the scenario, I had ~800 Users in 4 existing Business Units, while the new Business Unit structure was comprised of 7 Business Units. This was further complicated because the Users could have anywhere between 3 and 14 Security Roles (don’t ask…). We needed to be able to assign them to the new BU and ensure their Security Roles were reassigned when their BU was changed.
The Setup
The first step in setting up was to add an Option Set field to the User entity to hold the name of the Business Unit we would be moving the User to.
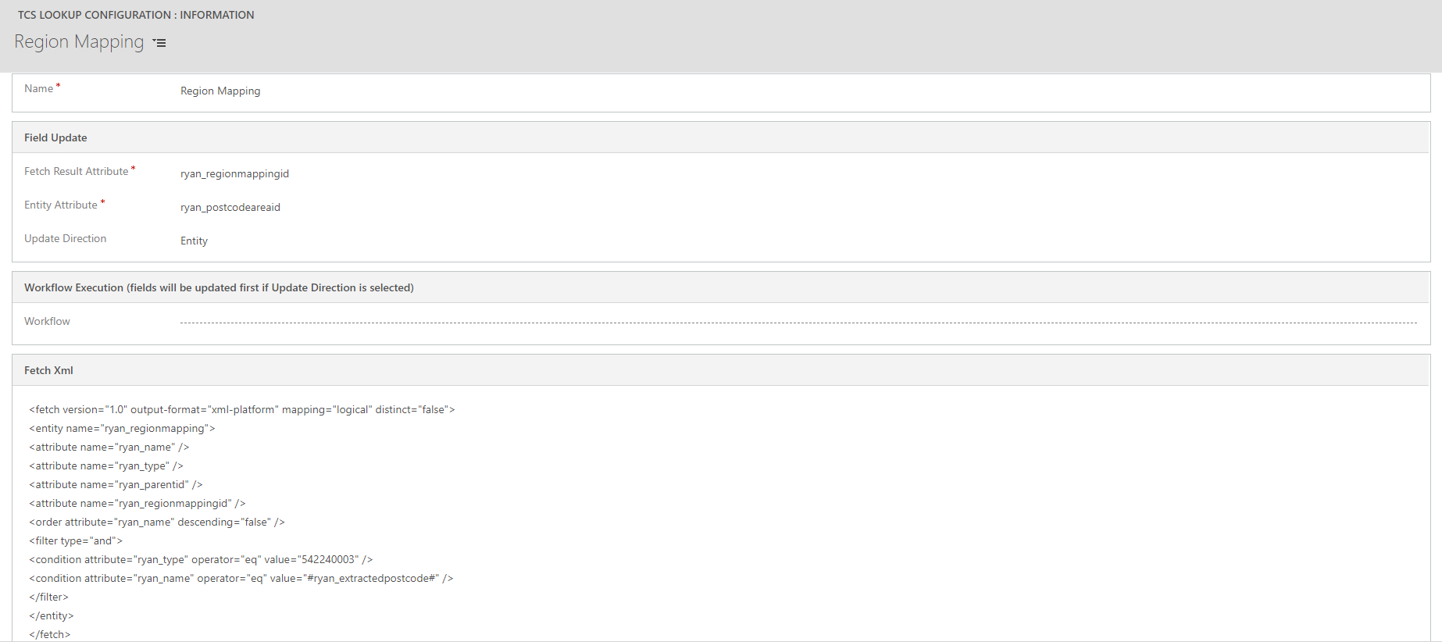
The next step was to create a FetchXML query to get the Security Roles assigned to a User, which would be called from within the North52 formula. The FetchXML expression I used is:
 <fetch version="1.0" output-format="xml-platform" mapping="logical" distinct="true">
  <entity name="role">
    <attribute name="name" />
    <attribute name="businessunitid" />
    <attribute name="roleid" />
    <order attribute="name" descending="false" />
    <link-entity name="systemuserroles" from="roleid" to="roleid" visible="false" intersect="true">
      <link-entity name="systemuser" from="systemuserid" to="systemuserid" alias="ad">
        <filter type="and">
          <condition attribute="systemuserid" operator="eq" value="@systemuserid@" />
        </filter>
      </link-entity>
    </link-entity>
  </entity>
</fetch>
The important thing to note from the FetchXML expression is that the value in the condition searching for the systemuserid is @systemuserid@. North52 uses the @…@ tags to find the value in the field with the schema name that is enclosed in the tags, so it will substitute the GUID of the User on each record this is triggered on.
The Formula
The North52 Formula is actually relatively straightforward:
 SmartFlow(

  SetVar('BusUnitID',

    Case([systemuser.hr_primarypractice],

      When( 150000000), Then (FindValueQuickId('businessunit','Actuarial & Benefits')),

      When( 100000000), Then (FindValueQuickId('businessunit','Business Support Unit')),

      When( 100000001), Then (FindValueQuickId('businessunit','Commercial Group')),

      When( 100000002), Then (FindValueQuickId('businessunit','Insights & Analytics')),

      When( 150000001), Then (FindValueQuickId('businessunit','Investment')),

      When( 100000003), Then (FindValueQuickId('businessunit','Life & Financial Services')),

      When( 150000003), Then (FindValueQuickId('businessunit','Third Party Administration')),

      Default(FindValueQuickId('businessunit','Business Support Unit'))

    )
  ),

  ForEachRecord(

    FindRecordsFD('FindUserSecurityRoles','true'),

    SetVar('Role' + recordIndex(), FindValue('role','roleid',currentrecord('roleid'),'name','?','true')),

    SetVar('Roles', RecordTotal())
  ),


  UpdateRecord('systemuser',
    [systemuser.systemuserid],
    SetAttributeLookup('businessunitid', 'businessunit', GetVar('BusUnitID'))

  ),

  DoLoop(GetVar('Roles'),

    AssociateEntities('systemuser',[systemuser.systemuserid],
      'role',
      FindValue('role',
        SetFindAnd('businessunitid','name'),
        SetFindAnd(GetVar('BusUnitID'),GetVar('Role' + DoLoopIndex())),
        'roleid'),
      'systemuserroles_association')

  )


)
I’ll try to explain some of the key elements of this N52 Formula below:
Case: The Case function is used to check the value in the new Business Unit Option Set field, and it sets a variable to hold the ID of the new Business Unit (‘BusUnitID’) so we can use it later in the formula
ForEachRecord: ForEachRecord is a looping function, and it iterates through the output of the FetchXML query we created above using the FindRecordsFD function and carries out the actions specified. In this instance I have two actions:
- Create a Variable to hold the Name of the Security Role (‘Role’). The RecordIndex() function outputs an integer with the number of the current loop, so I’ve used it to create iterative Variables (i.e. each loop of the ForEachRecord function will create a new Variable (Role1, Role2, Role3, etc.)
- Create a Variable (‘Roles’)to hold the Total Number of loops we’re running, which will be used later in the Formula
DoLoop: DoLoop is another looping function that allows us build an iterative function to complete actions. We use the variable that we created in the ForEachRecord function step to hold the total number of loops (‘Roles’) to specify the number of iterations of the DoLoop function to carry out.
For each role we will carry out an AssociateEntities function to associate the User to the Security Role. To find the right Security Role(s) to associate we do a FindValue function and use SetFindAnd to enable us to specify multiple input parameters that must be met. In this case we want to find Security Roles using the following criteria:
- The businessunitid of the new Business Unit we’ve updated on the User Record, using the ‘BusUnitID’ variable we set at the start of the formula
- The Security Role name, which we retrieve by getting the Variable using the DoLoopIndex() function, which outputs an integer with the current loop number, identical to the RecordIndex() function we used to set the Variable name in the ForEachRecords function.
Conclusion
This relatively straightforward formula allowed me to dynamically update all of my Users to their new Business Units and to ensure their security roles were applied properly. It saved me a huge amount of time over a manual approach, and hopefully has demonstrated some of the capabilities of the North52 solution.
I am sure I will be able to reuse the functionality of setting and getting a dynamic number of variables using ForEachRecord and DoLoop functions in this way, but I’d love to hear from others if they can think of any other scenarios in which this could be applied, so please feel free to reach out!


